You can create as many views as you need. To do so, follow these steps:Documentation Index
Fetch the complete documentation index at: https://hilos-40.mintlify.app/llms.txt
Use this file to discover all available pages before exploring further.
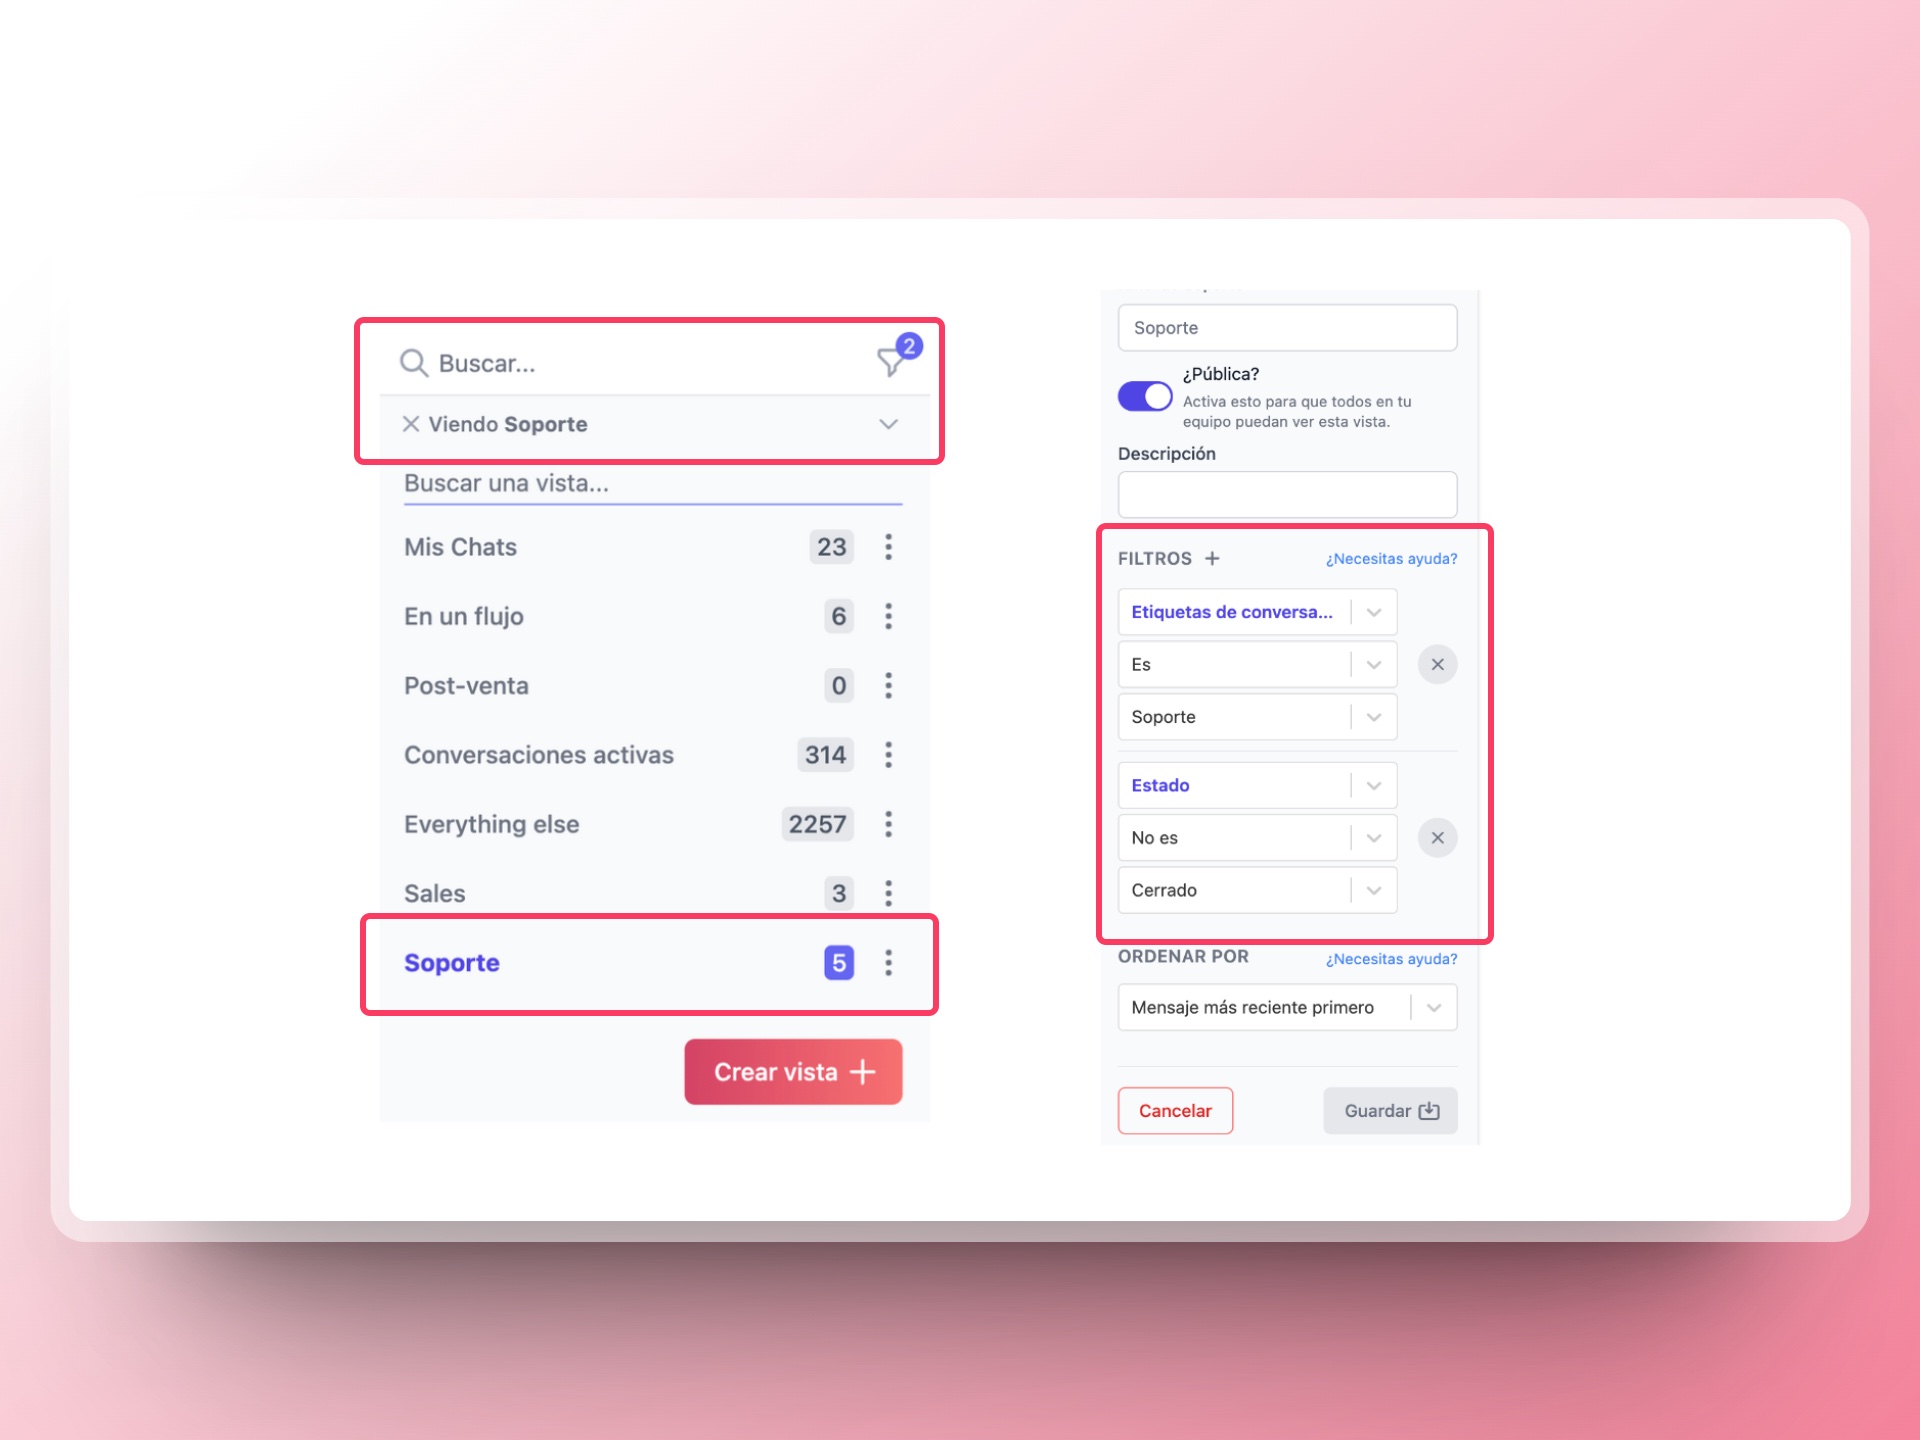
- Conversation Status: You can choose to display only conversations marked as “New” or “In progress,” depending on how your team categorizes support conversations.
- Conversation Tags: If you use tags to classify support conversations (such as “Support” or “Help”), include them in your filters.
- Assigned to: If you have specific team members responsible for support, you can filter to show only the conversations assigned to them.
 You can read and learn more about how to automatically add tags to your conversations by clicking here.