Step-by-Step Guide to Creating a Support Ticket Automatically
Step 1: Create a New Zap in Zapier
-
Log in to Your Zapier Account:
- Go to Zapier and log in to your account.
-
Create a New Zap:
- Click on
+ Create Zapto start creating a new Zap.
- Click on
Step 2: Set Up the Trigger
-
Choose Webhook as the Trigger App:
- In the “Choose App & Event” section, search for and select “Webhooks by Zapier.”
- Choose the “Catch Hook” trigger event.
-
Copy the Webhook URL:
- Zapier will provide you with a unique webhook URL. Copy this URL as you will need it in the next steps.
Step 3: Configure Hilos to Send Data to Zapier
-
Go to Hilos Flows:
- Navigate to Flows in your Hilos account.
- Select the flow you wish to integrate with Zapier.
-
Add a Connect API Step:
- Click on the
+button to add a new step. - Select “Connect API” from the list of step types.

- Click on the
-
Configure the Connect API Step:
- Set the method to
POST.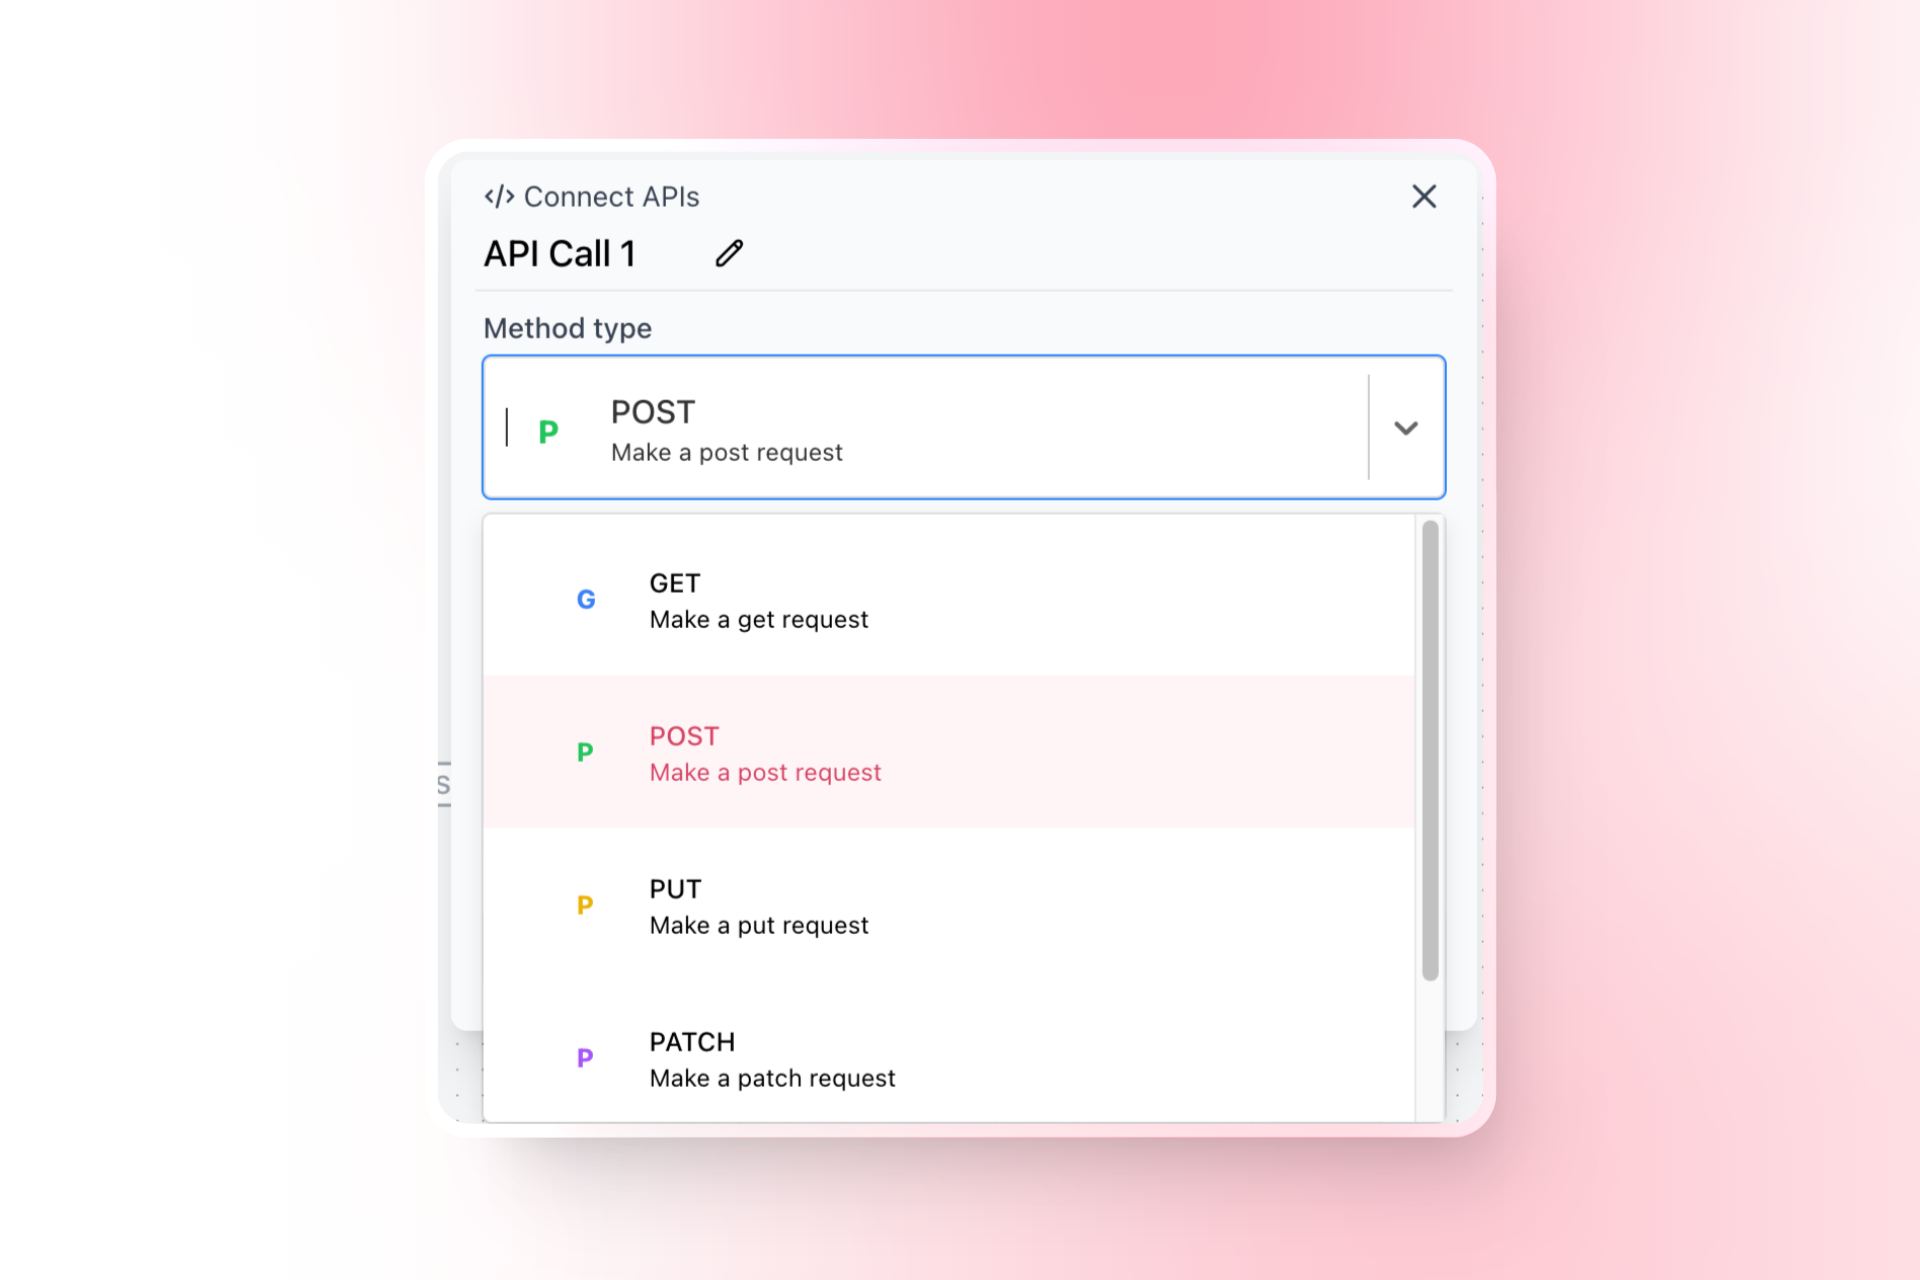
- Paste the webhook URL you copied from Zapier into the URL field.
- Set the content type to
JSON.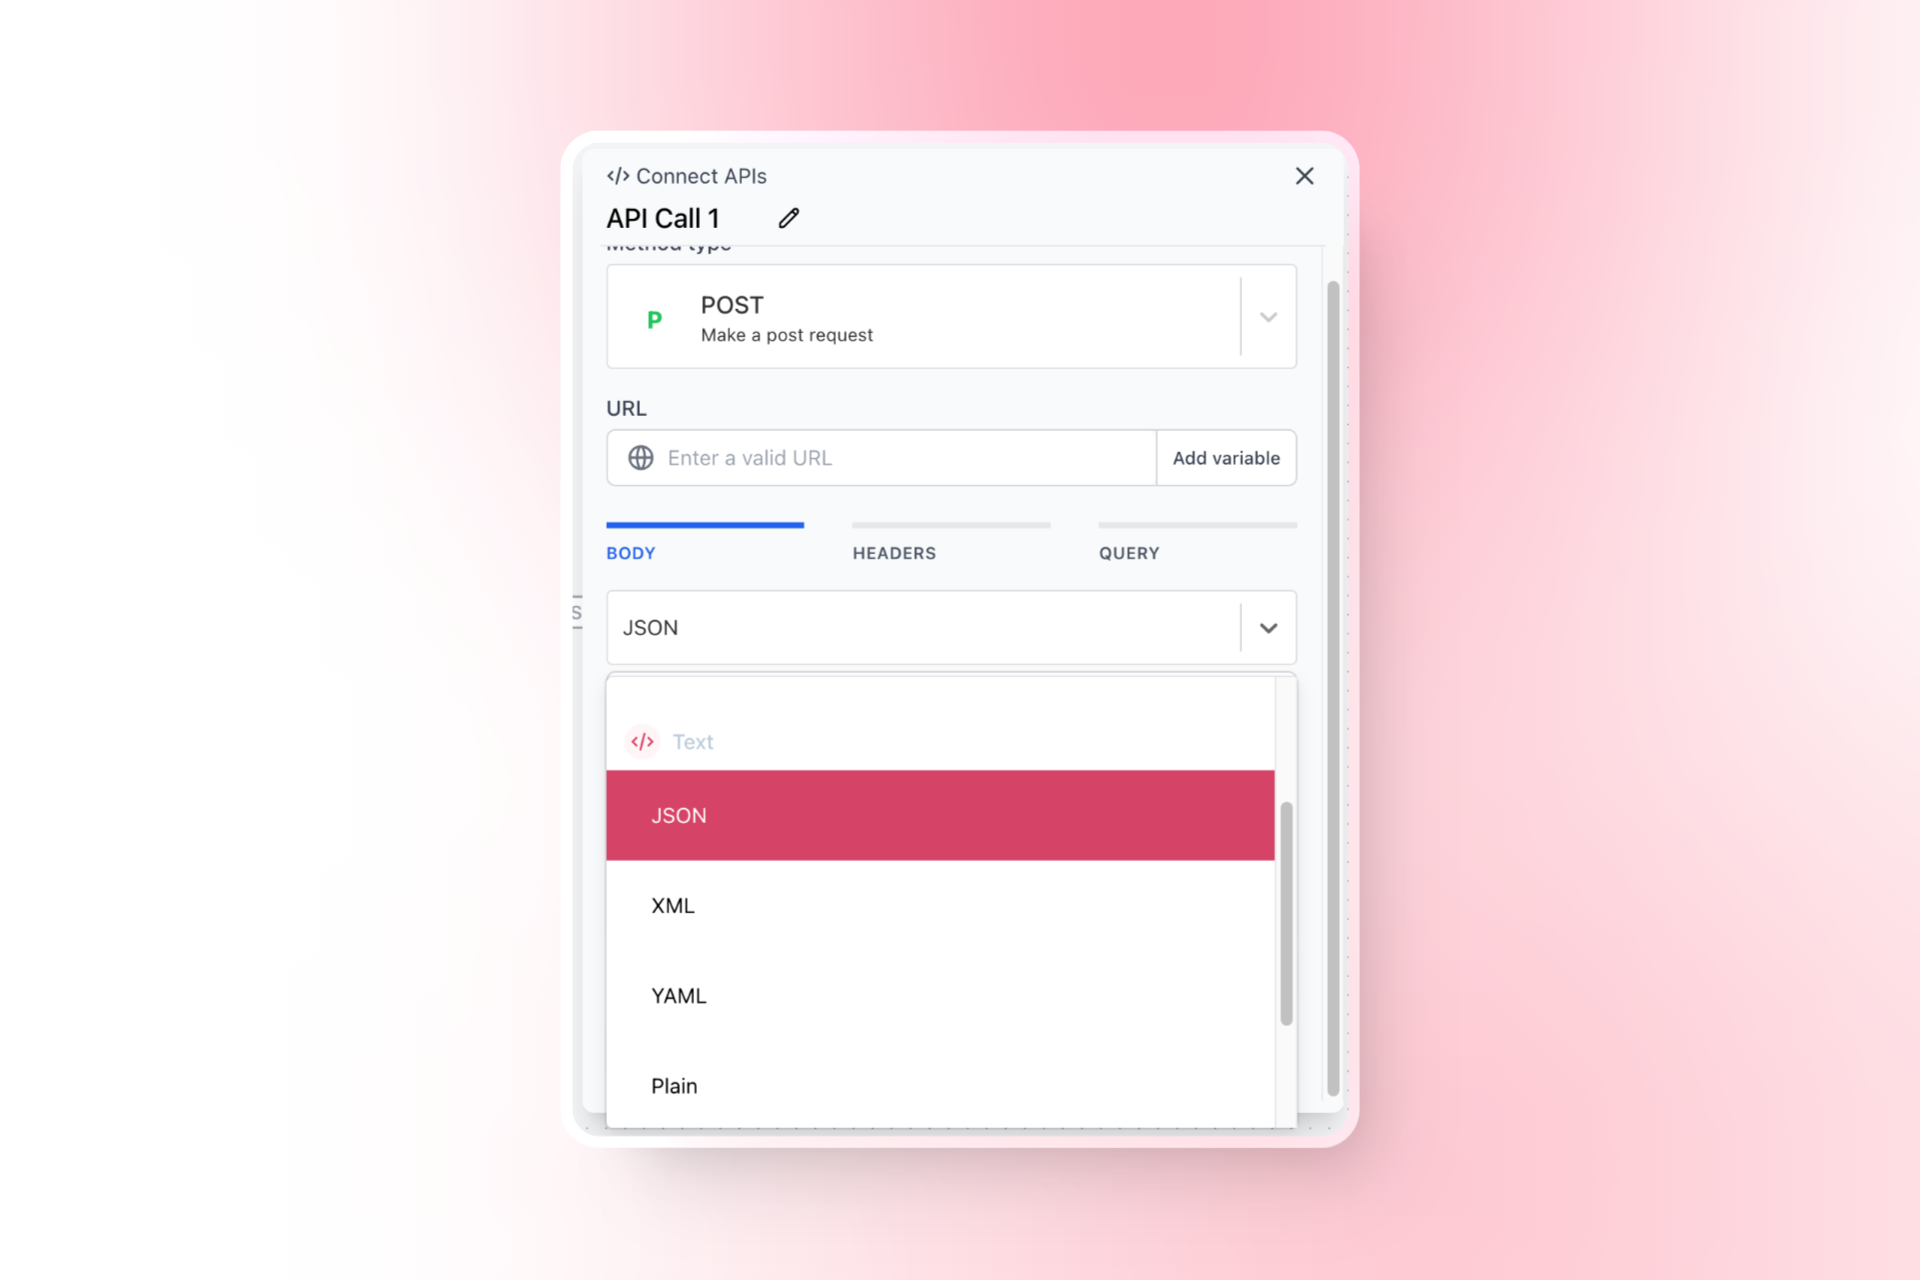
- Add an object with the properties you wish to send to Zapier. For the first time, hard code the values and test it to see if you receive the data in Zapier correctly. Afterwards, you may replace it with the variables you wish to use.
- Set the method to
Step 4: Set Up the Action in Zapier
-
Choose the Action App:
- In Zapier, choose the app where you want to create the support ticket (e.g., Linear, Jira, Trello, Slack).
-
Select the Action Event:
- For Linear, Jira, or Trello, select the “Create Issue” action.
- For Slack, select the “Send Message” action.
-
Map the Fields:
- Map the fields with the data received from the webhook. Use the data received in the webhook to populate the fields in the action app.
Example Flow Structure
Your flow in Hilos should now have the following structure:- Trigger: Any incoming message or specific event.
- Question Step: Ask the user for relevant information (e.g., issue details).
- Update Contact Step (Optional): Save additional information to the contact.
- Connect API Step: Send the data to Zapier using the webhook URL.
Final Steps
-
Test the Integration:
- Send a test message or trigger the event to ensure the data is received correctly in Zapier and the support ticket is created.
-
Monitor and Optimize:
- Monitor the performance of your integration and make adjustments as needed to ensure a smooth support process.