Inbox views are a great way to filter your teams’ or your own Inbox to only show the conversations that are relevant to you. You can create as many views as you need, and you can share them with your team.
Simply put - views are saved collection of filters, instead of having to manually select all your filters again and again to switch from one list of conversations to a different one, views allow you to save these filters and switch instantly.
In this regard, Hilos is very flexible: you can create all the views required so that you can implement the process you use at your company, instead of trying to fit your company’s support or sales process to Hilos. This way, you can organize your conversations in a way to better fits you and your team.
Creating a view
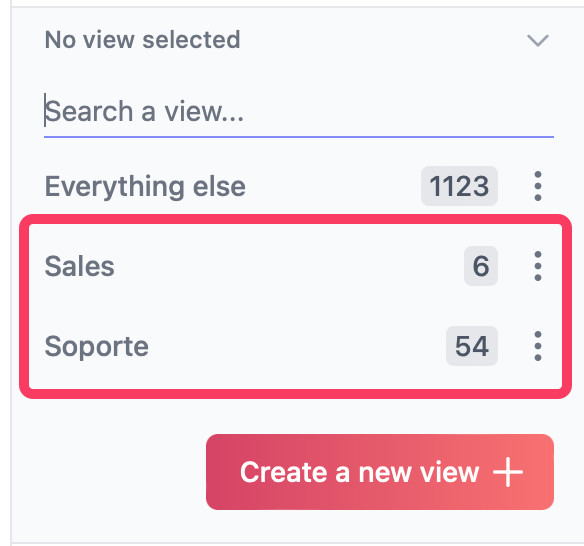
To create a new view go to your Inbox and under the search bar you’ll see a bar that says “No views selected >”. Click on it and you’ll see a dropdown with all of your views. Click on the Create a new view + button to begin creating a new view.
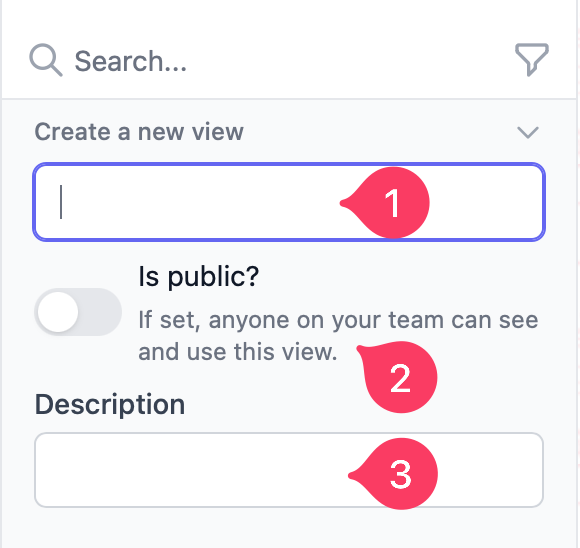
 Give a name to your view and decide whether you’d like to share it with your team or not. If you share it with your team, they’ll be able to see it in their Inbox as well, you may also add a description if you so wish.
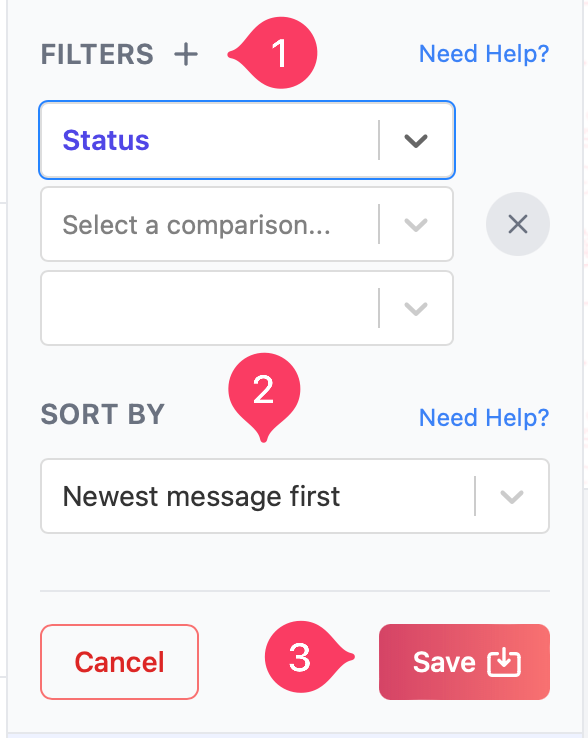
 Lastly, configure the filters that you’d like to apply to this view. And the way the messages are sorted.
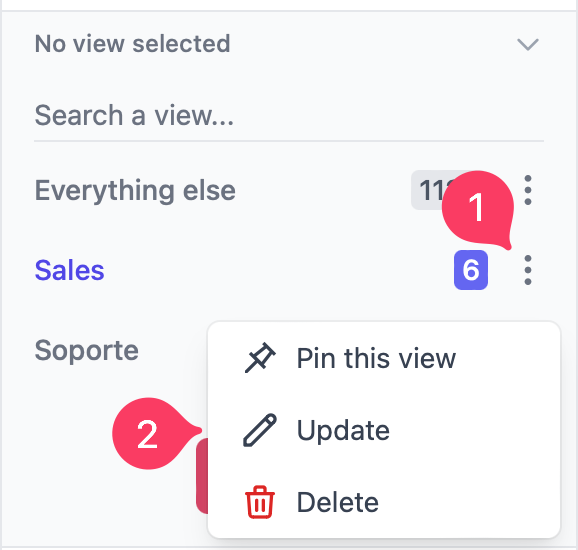
 All set! you should be able to see your new view in the dropdown menu. You can also pin your view to the top of the dropdown menu by clicking on the pin icon next to the view name.
We recommend you create a view that filters out conversations with the status CLOSED or archived conversations. It’s unlikely you need to see those conversations all the time, so this will help keep your Inbox clean and only see the conversations you need to work on.
Editing or deleting a view
To edit a view click on the menu button next to the view name and select Edit. To delete a view click on the menu button next to the view name and select Delete.